

How amazing does it feel when your vision turns into fruition just the way you wanted?? I was really looking forward to this dessert to look just the way I was expecting. And you know what, there was hardly any hassle preparing this cheese cake!! Doesn’t that feel great? I really wanted to keep the salty component of the cheese cake, in my dessert, and I won’t hide the fact that I was little nervous with the possible result. But things did work and in a good way.. at least for Me..
I am saying this because My Mum just doesn’t want to agree to the fact that a dessert can taste little salty or tangy at times; for her a dessert can only taste Sweet otherwise how can that be a ‘dessert’! Like sugary sweet!! Is it with you as well? Or do you really think a blend of opposite tastes do work if chosen carefully?
For me, I really liked it, And I wanted to share all this with you.. By this Time I guess you already know how to make Cream cheese at home, right? In case it’s a no, here, have a look. So I had my Cream cheese ready, along with I used the below ingredients:
- Oats
- Butter
- Honey
- Rock Sugar ( or you may use honey entirely as sweetener )
- Vanilla Essence
- Dark Chocolate (or Milk chocolate if you like)
- Roasted Almonds chopped (you can use any dry fruits and nuts as per your choice)
What did I Do??
Nothing special, I kept my patience and composure in order, that’s the only thing this devilry would demand. Ready for it??
- Layer 1: Oats: Take a pan, heat it, add little butter and honey on the pan, they start bubbling immediately, add the whole oats. Keep stirring controlling the flame till the oats are turning brown. Once turned little caramel brown, you will find the oats becoming little crispy. That’s the time you take them off the heat and let them cool.
- Layer 2: Vanilla Cream Cheese: you have your Cream cheese ready. Now divide them into two portion, it depends if you want a 1:1 Vanilla: chocolate cream, or 2:1 Vanilla : Chocolate, it’s completely up to you, and accordingly keep one of the portions aside.
- Now coming to the Vanilla cream cheese, add vanilla essence as much as required, then add rock sugar powder or honey as per your requirement (I had kept the measurement of the sweetener lower than it was required, so that this layer would taste little salty. Again Little or much) and mix all these very very well, (it became slightly fluffy after a little beating). You can keep it like this, or you may put it in the microwave for a minute. Give a quick stir after getting it out of the micro oven.
- I took small bowls to set this cheese cake, as I used whole oats, it wouldn’t form a firm base and later I wouldn’t have been able to cut them into small, clean pieces.
- So, taking small serving bowls, I used one spoonful of oats at the bowls first, pressed them a bit to get an even layer. Then I poured the Vanilla cream cheese on the oats, keeping the portion same in all the bowls and flattened the layers with a spoon if required. Then covering the bowls, I put them in the refrigerator to set for some time (Keep in mind, that both oats and vanilla cheese are of normal temperature before putting them inside the fridge).
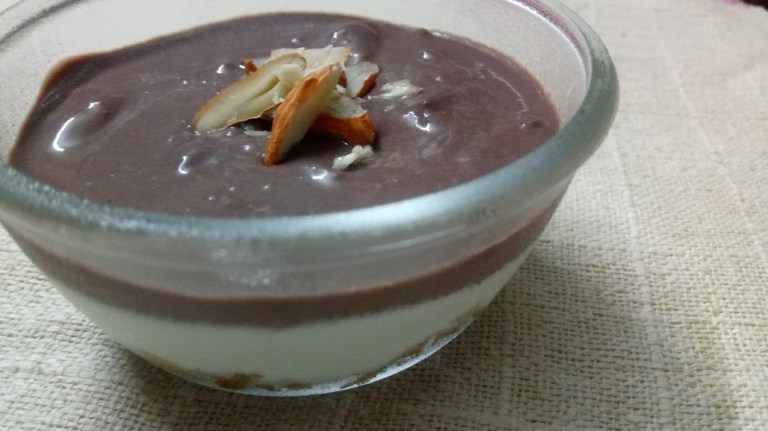
- Layer 3: Chocolate Cream Cheese: Take the rest of the cream cheese, add melted Dark chocolate (You may add little milk to melt the chocolate) (you may use milk chocolate if you prefer, in that case you have to be careful while adding honey or rock sugar into the cheese mix), honey or rock sugar (I used exactly as much as sweetness was required for this layer, I didn’t keep this layer salty at all), chopped almonds (save some to garnish) and mix well with a spatula.
- Now take those small bowls out from the refrigerator. By this time the vanilla layer should set a little, which was the purpose, so that it gets easy to get even and visible layers of oats, vanilla cream and chocolate in one bowl. Now add the chocolate cheese over the vanilla cheese layer, use small spoon to even and smooth out the top. You may add some more almonds on top and let them set inside the refrigerator for 4 – 5 hours, or you may garnish with your favourites just before serving.
NOW.. I need to hear from you in every possible way.. Let me know your preference on combining both sweet and salty flavour in one dessert… DO you like it or do you think like my Mum?? I am waiting for your comments…


Keep it up, salty and sweet work great together.
LikeLiked by 1 person
Ooohh.. thank you so much 🙂
LikeLiked by 1 person
These look amazing! I have to try these one day. Great job💗
LikeLiked by 1 person
Hope you like it.. thank you for dropping by..
LikeLiked by 1 person